Quick test videos

| August 25, 2010

Many of our students have wanted to work on stop-motion animation videos and we encourage these projects. If the student is completely new to film making we usually like to do a quick start-to-finish stop motion production so everyone gets a good feel for the flow from production, editing, render, to YouTube.

Here are three of these test videos.

Rinny’s with sound took about three hours to produce start to finish.

Owen’s took about an hour without sound.

Peter’s was a very few still taken with a DSLR.

Ryder Foundation – Generation Rescue benefit September 11, 2010

| August 24, 2010

The Ryder foundation generously supports Autistry Studios programs and they are putting on a great show at the Palace of Fine Arts this September 11. Many of our students will be displaying their art work at auction at the event. Please join us. See the Ryder Foundation website for more information.

Andrew’s whimsical roadside diner

| August 24, 2010

Andrew's house

Andrew likes making projects that make people laugh when they see them. He particularly liked buildings found in this great book California Crazy.

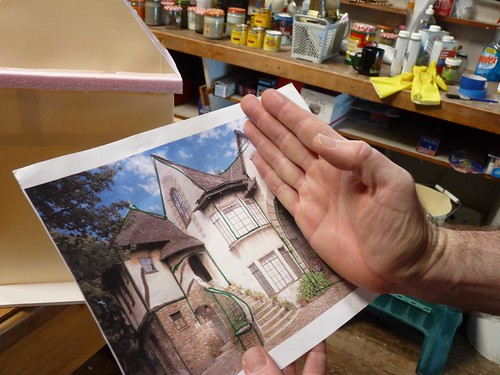
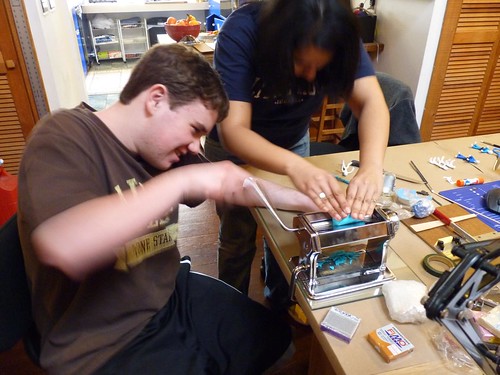
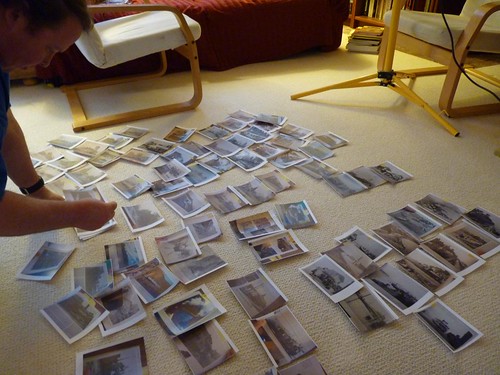
We spent a couple days tagging pictures across many sources and then I photographed his choices and we printed them out and sorted them on the floor.

This technique really helps because you can start to see natural groups — clusters of pictures with similar themes.

Next we asked Andrew to pick his favorite group of pictures. The focus came down to storybook architecture and crazy roadside architecture.

Project Ideas

Discussing New Project Ideas

I proposed a project that had a bit of each: part of the building could be a huge bust of Rush Limbaugh and the rest of the structure would be a storybook style building.

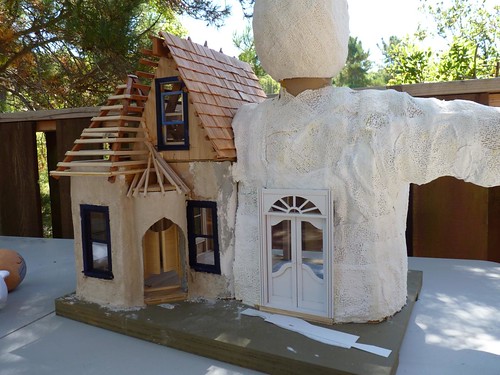
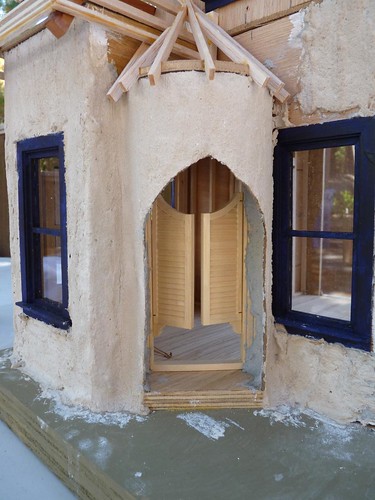
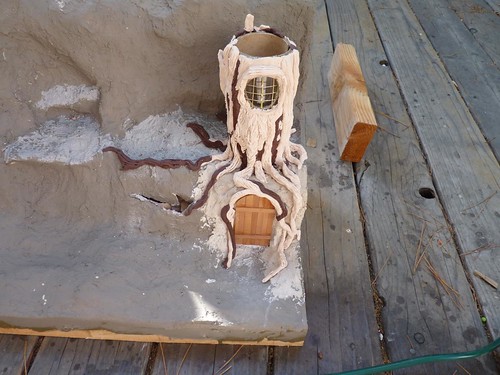
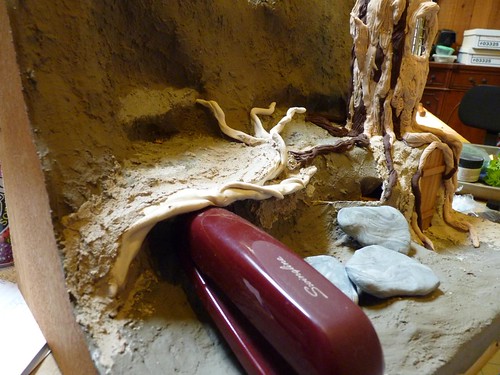
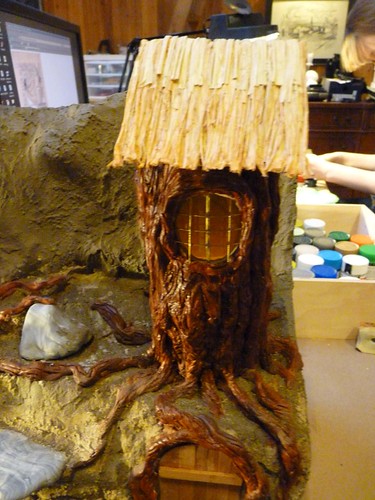
The left part of the building is based on a portion of the Normandy Village storybook apartments in Berkeley, California.

Designing Andrews Next Project

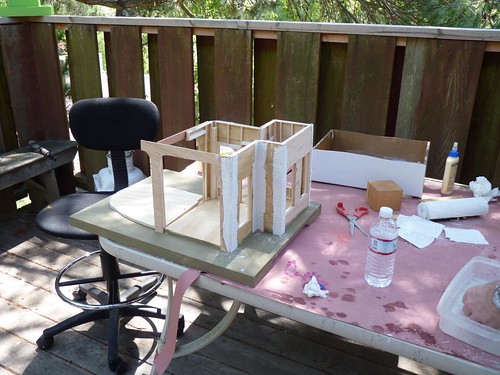
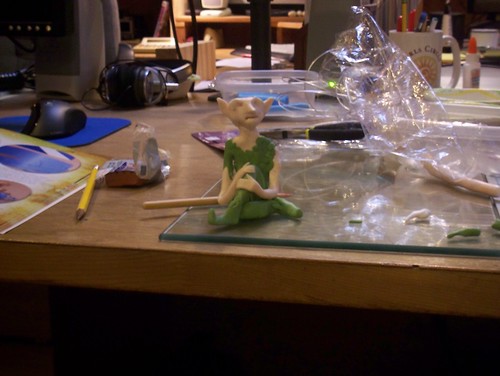
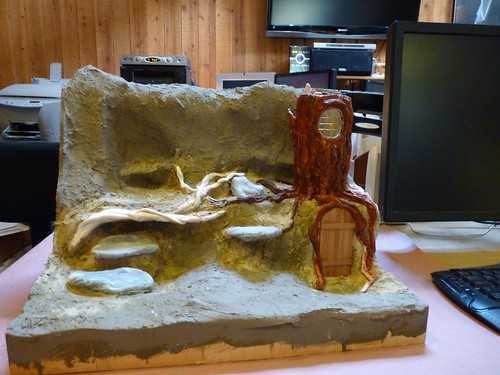
Andrew and I roughed out a “sketch model” in 1:12 scale (1 inch to one foot dollhouse scale) to see if we liked the shape and Andrew really liked the direction.

The Roadside Rush Diner

Andrew with Mock-up Diner

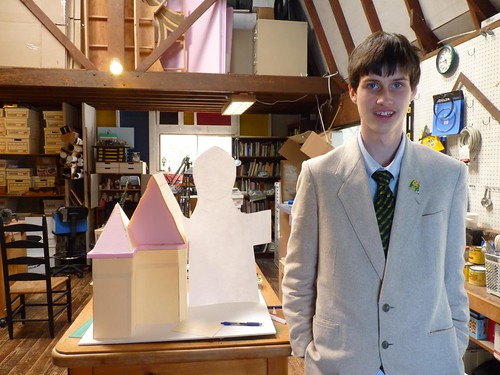
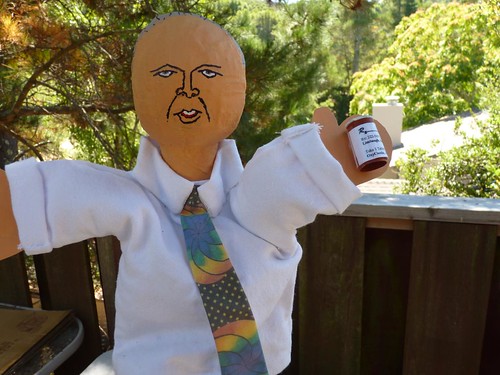
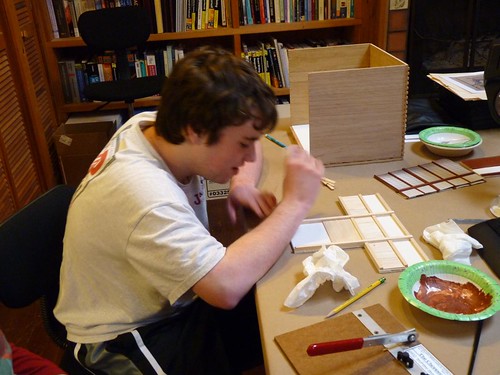
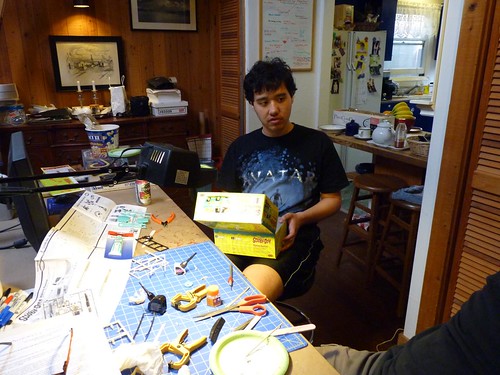
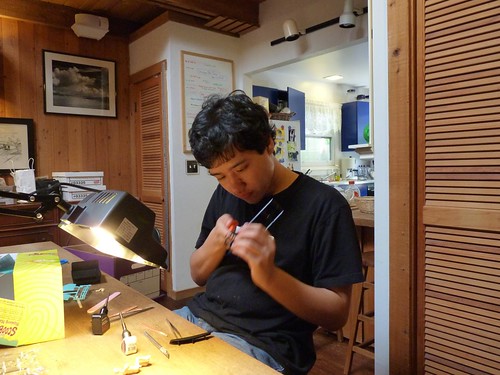
Andrew loves being a snappy dresser when photos or video are being shot in the studio.

Next we committed the project to lumber and plaster.

The Rush-bust part of the project is based on a hand puppet Andrew made for his previous project enlarged by a factor of three.

The Rush Puppet

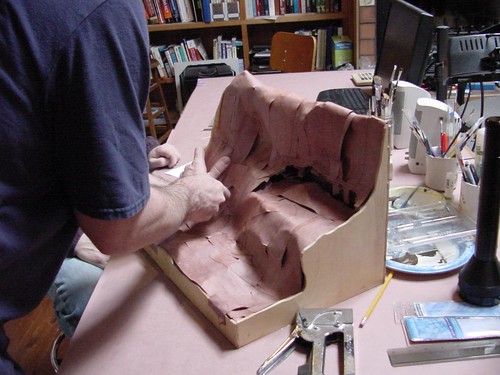
We made the head out of plaster cloth laid over a balloon and then squashed it between two pieces of plywood to give it a head-like egg shape.

A Bigger Rush Head

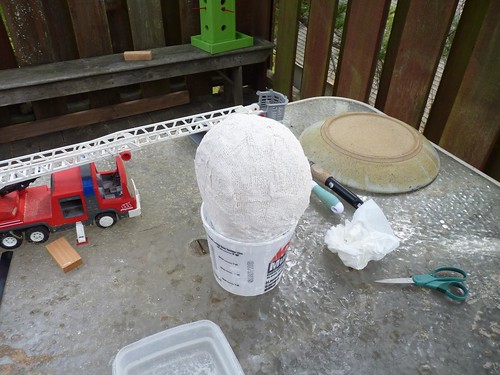
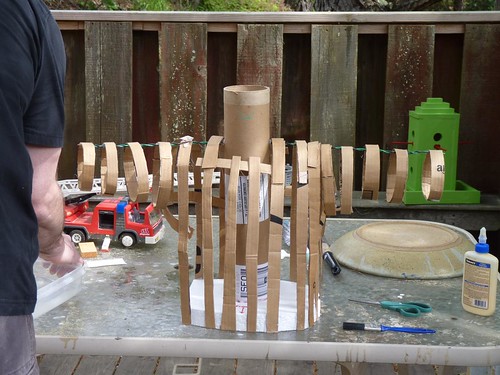
We roughed up a base to hold the head at the right height.

Head Holder

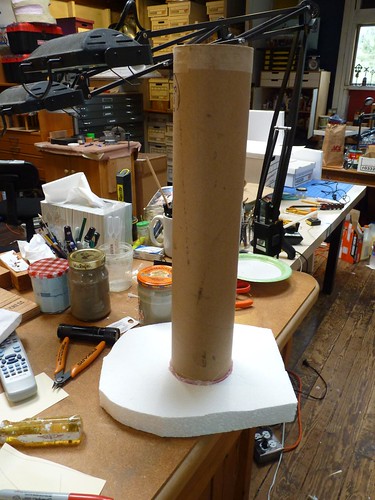
Using strips of cardboard that Andrew cut and sorted we built up the framework of the bust.

Casa Rush Diner

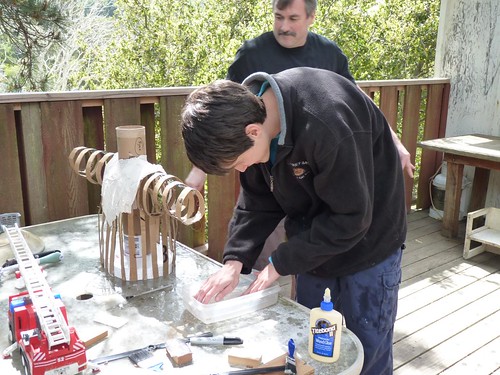
Using more plaster-cloth we covered the framework.

Andrew Plastering the Rush Cafe

With the head added the effect was looking really good.

Roadside Rush Diner

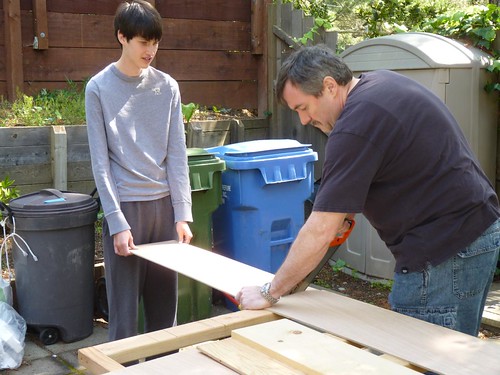
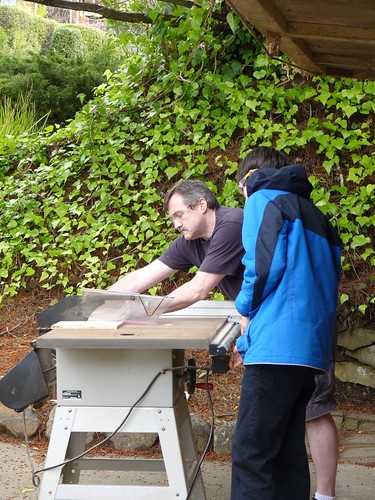
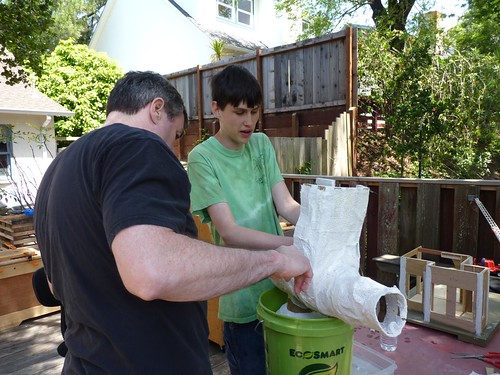
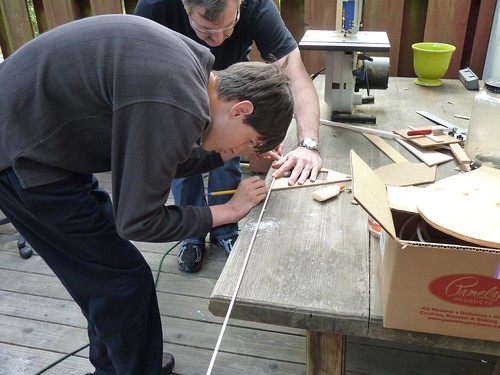
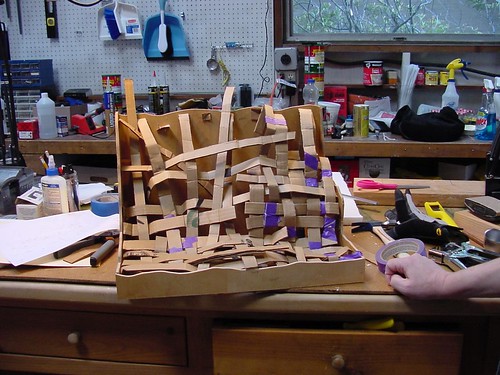
We started preparing wood to use for the walls of the storybook portion.

Andrew and Dan

Andrew at the Bandsaw

Dan and Andrew at the Table Saw

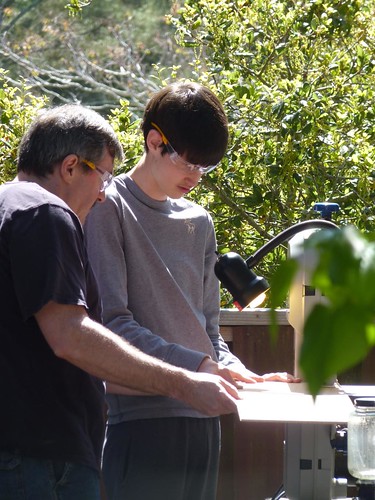
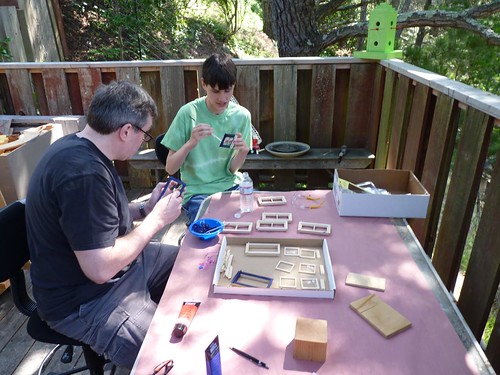
We bought several dollhouse window sets and pre-painted them.

Andrew and Dan painting windows

We went ahead and built up the walls like a real house with studs and siding. This gave Andrew lots of practice cutting and gluing.

Andrew's house

Andrew's house

The bust need additional coatings of plaster cloth.

Andrew adding more plaster cloth

The back of Rush’s head is left open so small people can be installed inside.
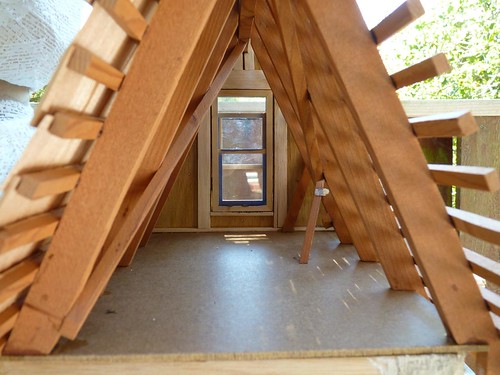
Nothing in Rush's head...

Framing the attic.

Andrew measuring

The attic was framed with small pieces of redwood.

Andrew's diner

We have not finished yet but here’s where we have left off:

Andrew's house

Andrew's house

Andrew's house

The dining area inside Rush’s torso.

Andrew's house

Andrew's house

We are still building and should finish this semester but That’s all for now folks!

Rush Limbaugh puppet

Ian’s Kung Jung Mul Sul Dojang

| August 23, 2010

Our son Ian became interested in martial arts a couple years ago and at the beginning of this year we enrolled him in Kung Jung Mul Sul (Korean royal court martial arts, related to Tae Kwon Do) classes nearby. As a project, Ian wanted to build a diorama of his Dojang (Korean counterpart to a Japanese dojo).

Ian's Tae Kwon Do studio

There were two main threads of construction for this project: the figures of the fighters and the building itself.

For the building Ian wanted to base his work on the dojo used in the training scenes of The Matrix.


We built a wooden box and Ian and AJ made detailed walls which were mounted inside.

Ian and AJ

The figures were made out of polymer clay over a copper wire armature. I soldered up armatures while Ian and AJ prepared clay to build up the figures.

Ian and AJ

Copper People

Don't Dremel AJ's Nails!

Dremeling the Copper Guys

AJ and Ian Make Figures

Meanwhile, back at the dojang, Ian built up the walls out of styrene and balsa wood.

Ian Painting the Dojo Walls

The figures came out great.

Tae Kwon Do

Tae Kwon Do

Ryan’s Railroad

| August 22, 2010

Switching Track

Ryan is another of our railroad-minded students and he chose to model a railroad yard. We used a classic John Allen Timesaver track plan and we added an Atlas turntable at one end.

We built the layout on a block of pink foam-board and glued 1/4″ plywood on the sides and bottom making a light but extremely rigid foundation.

Switching Track

Ryan soldered all the electrical connections.

Ryan Soldering

Dan Running the Trains

Here the ground has been painted and the track has been airbrushed. Ryan is cleaning the paint off the tops of the rails.

Cleaning the Tracks

The temptation to run some trains as soon as possible was irresistible.

Running the Trains

Ryan and the Layout

Next we ballasted all the track.

Ryan's track

Then we got Ryan started building some structures. He quickly mastered the plastic buildings.

Ryan's building kit

Ryan building some structures for his layout

We have placed the buildings on the layout and we’ll blend the bases into the scenery in the coming weeks.

The turntable

A small place of our own

Ready for some more scenery, grass, trees and trains.

Looking down thw tracks

Corey’s Mystery Machine

| August 21, 2010

Corey loves movies and movie-themed projects. His last project was a mostly scratch-built diorama of a scene from the movie Milk. Taking a bit of a break, Corey chose a Polar Lights kit of the Mystery Machine van from the old animated series Scooby Doo.

The Mystery Machine

Corey Builds the Mystery Machine

Corey at work

The figure painting was perhaps the hardest part of the project.

It's alive!

Scooby and Shaggy

The kit comes with stickers (!) for the decoration of the van sides. My past experience with this kit is that the stickers do not lay down well on the compound curves of the van body so we did some trial and error learning to make our own decals for the sides.

The kit is missing the bumpers but is almost done.

The Mystery Machine

The figures came out really well.

The Mystery Machine

Elf World!

| August 20, 2010

Picture 004

One day Sarah was working on making figures for the first time using polymer clay. Breton decided to try making figures too as they were following along in a book. Breton’s first foray into polymer sculpture was The Elf.

Breton's elf

Having made an elf, Breton wanted to make a small world for him. He decided the elf was a lawyer who lived in the woods. He quickly came up with this concept sketch.

ElfWorldDesign

And he started working on this design for a diorama.

Breton Weaves the Elf World Foundation

Breton Builds a Tree

The Last Bit of Weaving

An Elf in His World

Breton Brushes on the Mud

As the project grew we needed a quick oven to fit the entire project into. What we came up with is a glorified easy-bake oven with four 200 watt bulbs.

Breton Warms Hands in Oven

Elf World - Baked

Holding Up the Roots

Elf World

Light in the Treehouse

Breton

The Elf Tree

Elf in Contemplation

Elf World

Picture 029

Picture 031

Picture 032

Picture 033

Picture 034

Picture 035

I know Breton was pretty sick of working on it by the end but all his hard work has created a really beautiful project.

Picture 004

Erik’s Sausalito passenger station

| August 19, 2010

Picture 024This is a quick progress update and a state-of-the-project report. Erik is one of our railroad-minded students. In the spring we brainstormed ideas by collecting and organizing photos of scenes that Erik liked.

We found several trends in the photos that Erik liked and the one we focused on was trains in and around Sausalito. In the 20s and 30s Sausalito had a large passenger facility with electric, steam, standard gauge and narrow gauge trains connecting to ferry boats to San Francisco.

Eric's Ideas

Sausalito

After we negotiated a footprint size for the project, Erik started by making a foam base.

Erik's Diorama Base

Erik has completed the bay shore with rocks.

Picture 024

Laid all the track and preparing the electric third-rails — actually fourth-rails in this case because the Northwestern Pacific had dual standard-narrow gauge track at this station. Erik also painted the rails and the ties.

Picture 025

The third (fourth) rails ready to attach and the station platforms.

Picture 023

Painting the Hasbro AT-AT

| August 16, 2010

Our new coffee table (a.k.a. the Hasbro STAR WARS AT-AT) was looking a bit too “plastic” so I used it as an excuse to re-climb the learning curve on my Aztek airbrush.

Here is the unfinished side as a “before”

AT-AT repaint before

I free-hand airbrushed the panel lines with a medium-dark gray (Tamiya XF-53 neutral grey) with spray lines maybe 1/8 to 1/4 inches wide. Next I made a mix of “Star Wars white” out of 4 parts Tamiya XF-2 and one part Tamiya XF-66 light grey and painted the panels themselves. Doing the one side took about an hour and I needed a break after that but here is how it looks so far.

AT-AT repaint after

The difference is subtle but the flatter finish and more varied coloring makes the detail pop nicely.

Spinathon #2 – Sunday October 17th

| August 14, 2010

We had such a great time with the first Spinathon that we are making this a bi-annual event.   Join us for the Fall 2010 Spinathon at Body Image Personal Fitness in Mill Valley.  More details coming soon.